Templates help you work faster and get into a creative mood quicker when you have an idea. That said, it is important to be careful not to fall into a pattern of only using the same sounds for all of your projects or tracks. The following tips are based on Ableton Live 9 and 10 (for Mac), however, most of them can be transferred to other DAWs.
Default Set
Ableton gives you the ability to save your current sessions as default. Therefore, every time you open Ableton and/or create a new session you will have your own customized layout. To do so, simply go in your Ableton preferences (⌘,) and under File Folder, you may “Save Current Set as Default”: Press “Save” and your current session is now default. You may “Clear” and go back to Ableton’s default set anytime.

Important parameters / features you may want to customize:
- BPM & Time Signature
- Tracks Names, Colors & Groups
- Plugins, Instruments
- Audio Files, Midi Regions, Drums Rack
- Custom Shortcuts
- Markers, Loop
- Default Presets
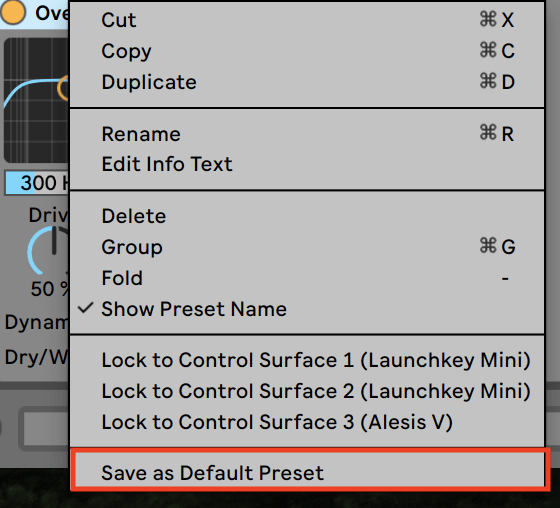
- Within Ableton, you can right-click any plugin and save its current state so that all of its settings become default. (You may also do this with VSTs!).
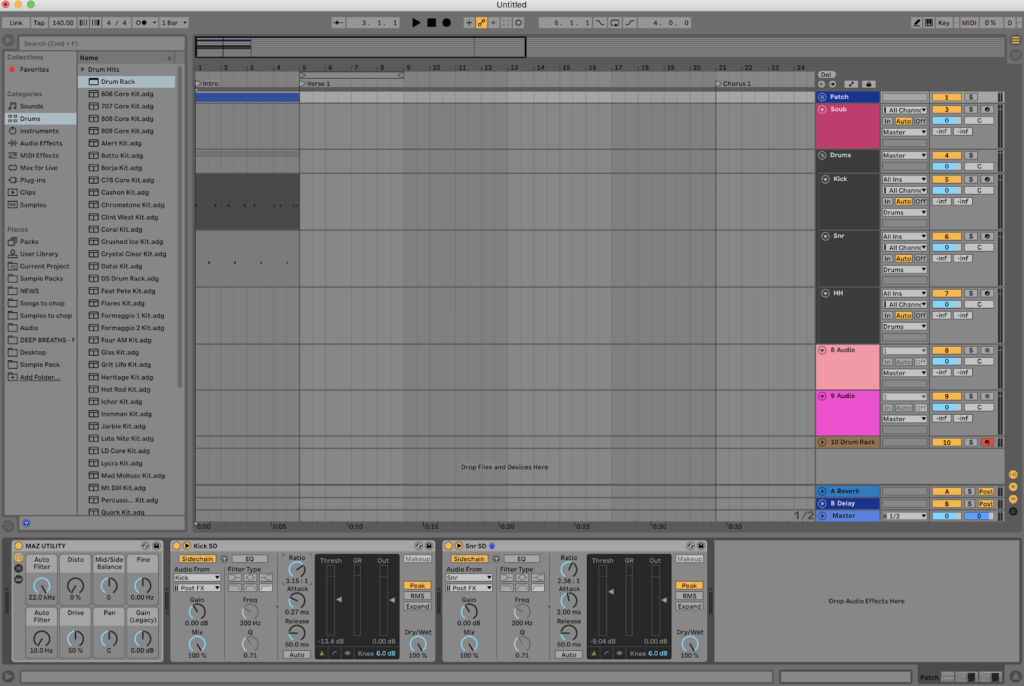
Default Effect Rack
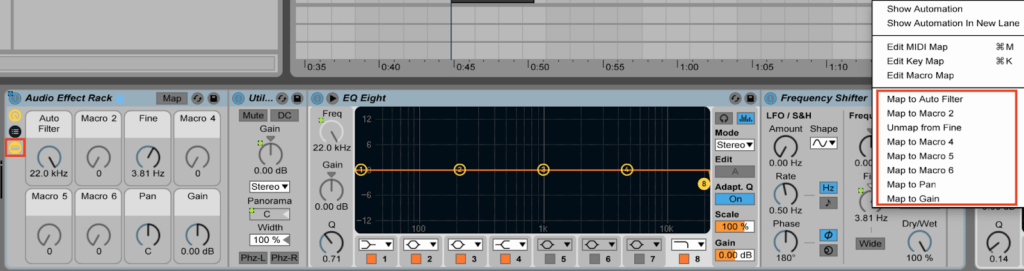
Using the same method, you can save a whole Effect Rack to have all of your favourite utilities from different plugins. To do so, drag audio effect plugin into an effect rack, right-click the parameters that you want to have easy access to, and select which macro you wish to control (Map to Macro).
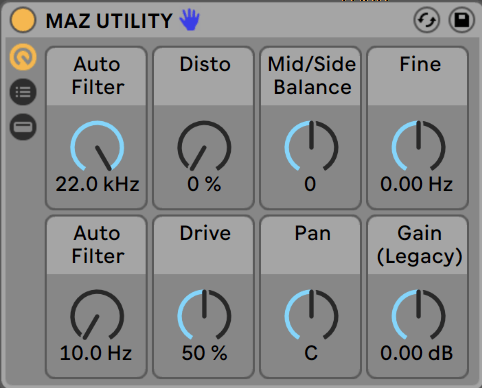
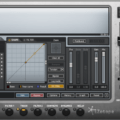
For example, here is a default Audio Effect Rack (You may still change your rack by clicking the folder icon to the left of the rack):
⌘ R To rename your Effect Rack.
You may also want to do the same with a Drum Rack and/or Instrument Rack to have easy access to a personalized kit and Instrument/Patch.
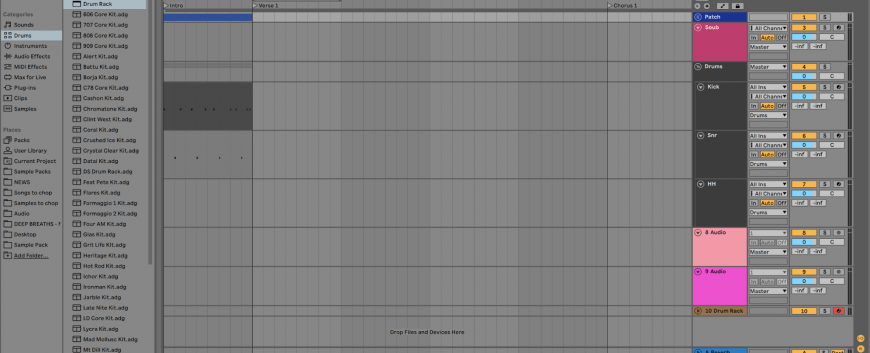
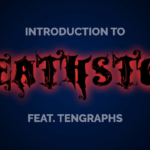
Here is an example of a saved set. This set makes it easier to lay down ideas as fast as possible without minding too much about other technicalities. In addition to a custom BPM, Loop and Markers, it has an already placed simple kick & snare patterns and routed sidechain compressions on the “patch” group.
Final Thoughts
These templates can be super helpful to make your work more efficient and to save you time. Just don’t forget to mix things up and not get comfortable using the same sounds repeatedly.


No Comments